How to Take Photos for a Multi-View 3D Model
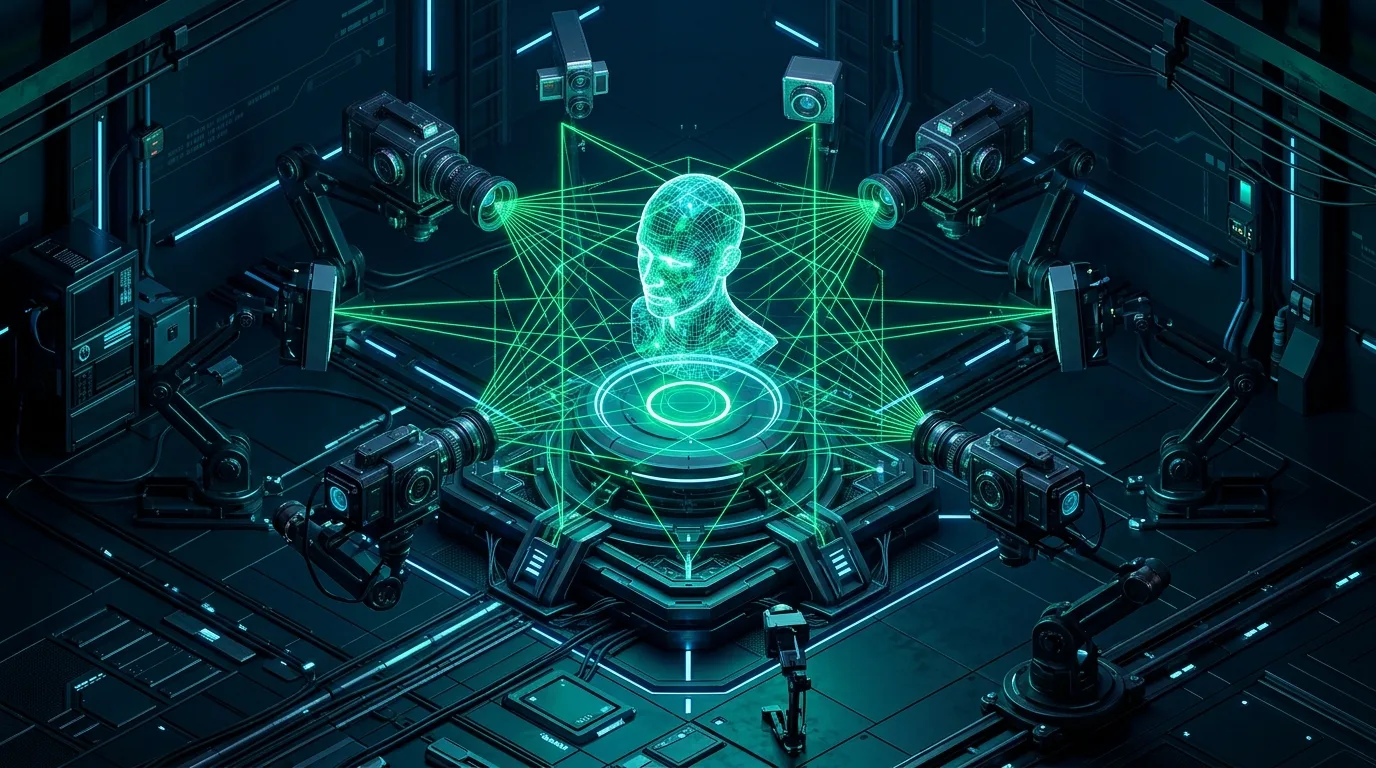
You upload four photos, the model comes back, and the back of it still looks wrong. Or the handle is on the wrong side. Or one leg is longer than the other.
Most of the time the AI is not the problem. A multi-view tool can only work with the pictures you give it, and a small mismatch between two of them is enough to throw it off. A different camera height, a shifted light, or a "left" view that is really the right side.
This guide covers how to shoot the views, which photo goes in which slot, and a short checklist to run before you upload. It works for real objects, figurines, product shots and character art, and most of the advice applies to any multi-view tool, not just ours.
What Multi-View Input Does, and What It Does Not
With one photo, the model sees one side. Everything else is a guess based on patterns it has learned from other objects. Multi-view input gives it real information about more sides, so less of the result is invented.
Two things are worth knowing before you pick up a camera:
Key Fundamentals
- It is generation, not scanning: Tool makers often call this reconstruction, and it is much closer to your photos than a one-photo guess. But the model is still generating a shape that fits your pictures. Always compare the finished model with your photos.
- Bad input hurts more than missing input: Views that disagree with each other (different heights, lighting, or poses) confuse neural depth estimation worse than simply providing fewer clean views. Two clean photos beat four sloppy ones.
The Four Views and What Each One Is For
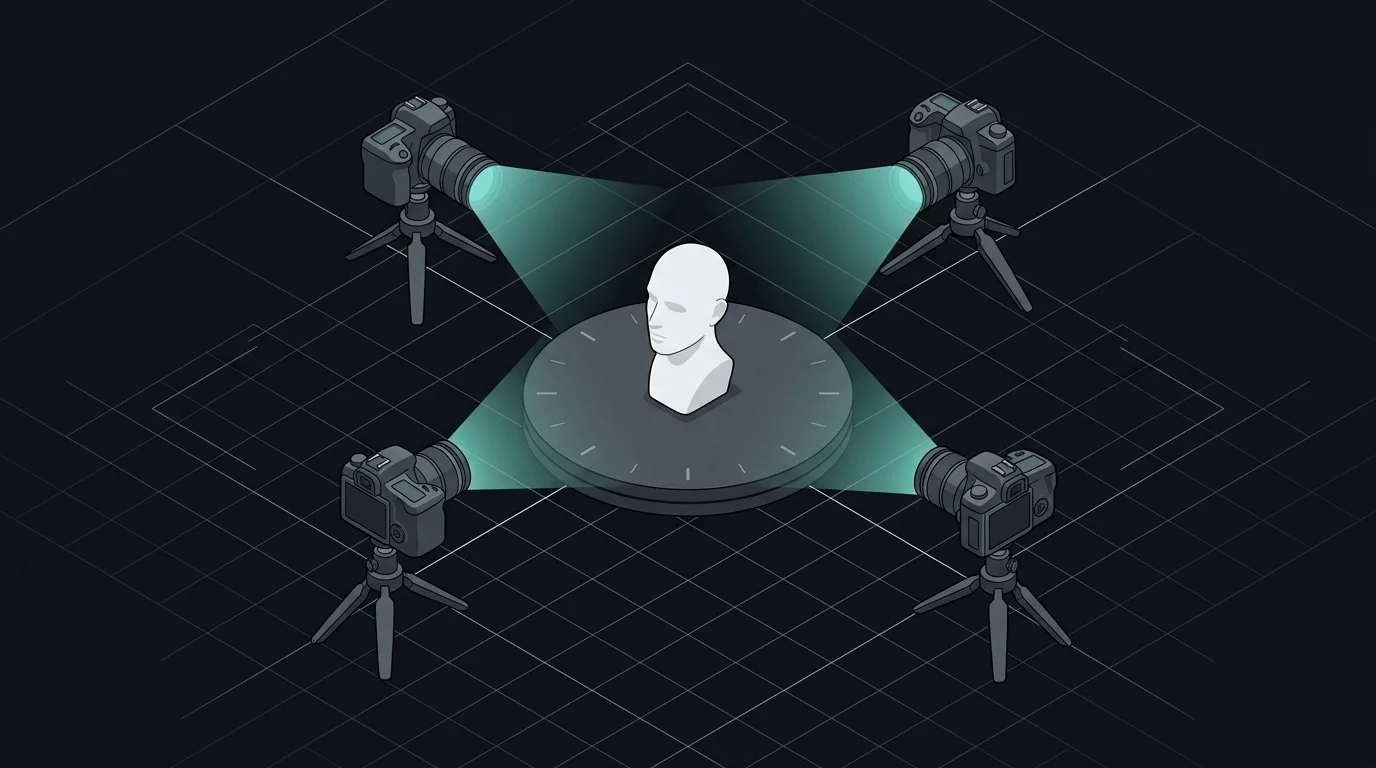
Most multi-view pipelines rely on four standardized orthogonal camera angles positioned around your subject:
| View | Angle | What it adds | Required? |
|---|---|---|---|
| Front | 0° | The main shape, face or branding. The primary view the model leans on most. | Yes (Primary baseline) |
| Left | 90° | Side profile and depth on that side. | Optional (Adds depth) |
| Back | 180° | Everything hidden from the front: backpacks, ports, labels, hair. | Optional (Biggest improvement) |
| Right | 270° | The other profile. Confirms symmetry or reveals differences. | Optional (Confirms symmetry) |
"Left" and "Right" Mean the Object's Left and Right
This catches a lot of creators. In multi-view tools, "left" means the subject's own left side, not the left side of your computer screen. For the left slot, the object's own left side faces the camera.
An easy way to get it right: imagine the object is a person facing you. Its left hand is on your right. To shoot the left view, turn the object so its left hand, left ear, or the left side of a shoe points directly at the lens. If you swap them, anything asymmetric (a logo on one side, a side pocket, or a handle) ends up mirrored on the wrong side of your 3D mesh.
Two Views or Four?
If you only have time for two, make them front and back. The rear surface is always the biggest unknown for neural generators, so giving the AI a real 180° opposite shot eliminates the most common failure point: melted, hallucinated backs. If you only have two photos, use our specialized front and back image to 3D converter.
Add left and right when the object has real depth or distinctive side features, like a handle, a shoe heel, or a backpack. For mostly symmetric objects, two views are often plenty.
A Shooting Setup That Works with a Phone
You do not need an expensive photography studio. A smartphone, a flat table, and a window or diffused lamp are enough:
Photography Rules
- Rotate the object, not yourself: Put the object on a table and rotate it 90° for each shot. The camera, background, and lighting stay completely fixed. A sheet of paper with four marks works great as a manual turntable.
- Use soft, indirect light: Diffused daylight from a window or a lamp bounced off a white wall. Skip harsh camera flashes, as sharp point shadows get misinterpreted as physical surface depth.
- Use a solid neutral backdrop: White poster board, light grey, or a matte dark backdrop that contrasts with your subject.
- Keep distance and height identical: Center the object and let it fill ~75% of the frame. Moving closer for one shot distorts proportions.
- Hold the camera level: Aim straight at the middle of the object rather than looking down from above.
- Tap to focus: Sharp images matter far more than megapixels. Ensure edges are crisp and motion-blur-free.
- Keep the pose identical: Straps, cables, hair, and loose parts must not move between shots.
Working from 2D Concept Art & Character Sheets
Character turnaround drawings work exceptionally well if you follow a few guidelines: split the sheet into individual images per view, keep line weight and scale identical across views, and draw the character in a neutral A-pose or T-pose with arms away from the torso. If you are preparing game assets from character sheets, check our dedicated character sheet to 3D generator.
The Pre-Upload Quality Checklist
Checklist before uploading
- Every photo shows the exact same object in an identical pose.
- Left and right views correspond to the object's own left and right.
- Camera height, distance, and focal zoom remain constant across all shots.
- Consistent diffused lighting and seamless neutral background in every shot.
- Zero motion blur or specular flash reflections.
- Silhouette check passed: flipping between front and back shows matching scale and baseline.
Troubleshooting Guide: When Results Look Wrong
| What you see in 3D | Likely input cause | What to try first |
|---|---|---|
| Handle, logo or pocket on wrong side | Left and right views were swapped | Swap images into the matching slots and regenerate. |
| Model leans or looks stretched | Camera height or zoom changed between shots | Keep camera fixed on a stand and rotate the object on a turntable. |
| Extra limb or duplicated geometry | Pose or loose items shifted between photos | Ensure pose, straps, and cables are 100% stationary. |
| Back looks blurry or empty | Back shot was underexposed or out of focus | Reshoot the back view with identical lighting to the front. |
| Shiny parts look dented or lumpy | Harsh specular glare bounced across views | Use diffused, soft indirect light without direct flash. |
| Thin parts missing from mesh | Parts blended into background color | Use a high-contrast matte backdrop behind the subject. |
What Better Photos Still Cannot Fix
Even perfect photography cannot overcome technical boundaries inherent to generative neural nets: fine text and tiny logos will be approximate, scale comes out in arbitrary digital units (check dimensions in your slicer), and transparent glass or chrome mirrors will confuse depth calculation. If you plan to 3D print your model, always run a slicer check for non-manifold edges before printing.
Ready to Test Your Photos?
If you have 2 to 4 photos ready, upload them into our multi-image to 3D converter to synthesize a clean 3D mesh with baked PBR textures. For e-commerce catalog photography, explore our product photos to 3D model converter. Still not sure if your item needs multiple photos? Read our guide on whether you need multiple photos for an AI 3D model.