Do You Need Multiple Photos for an AI 3D Model?
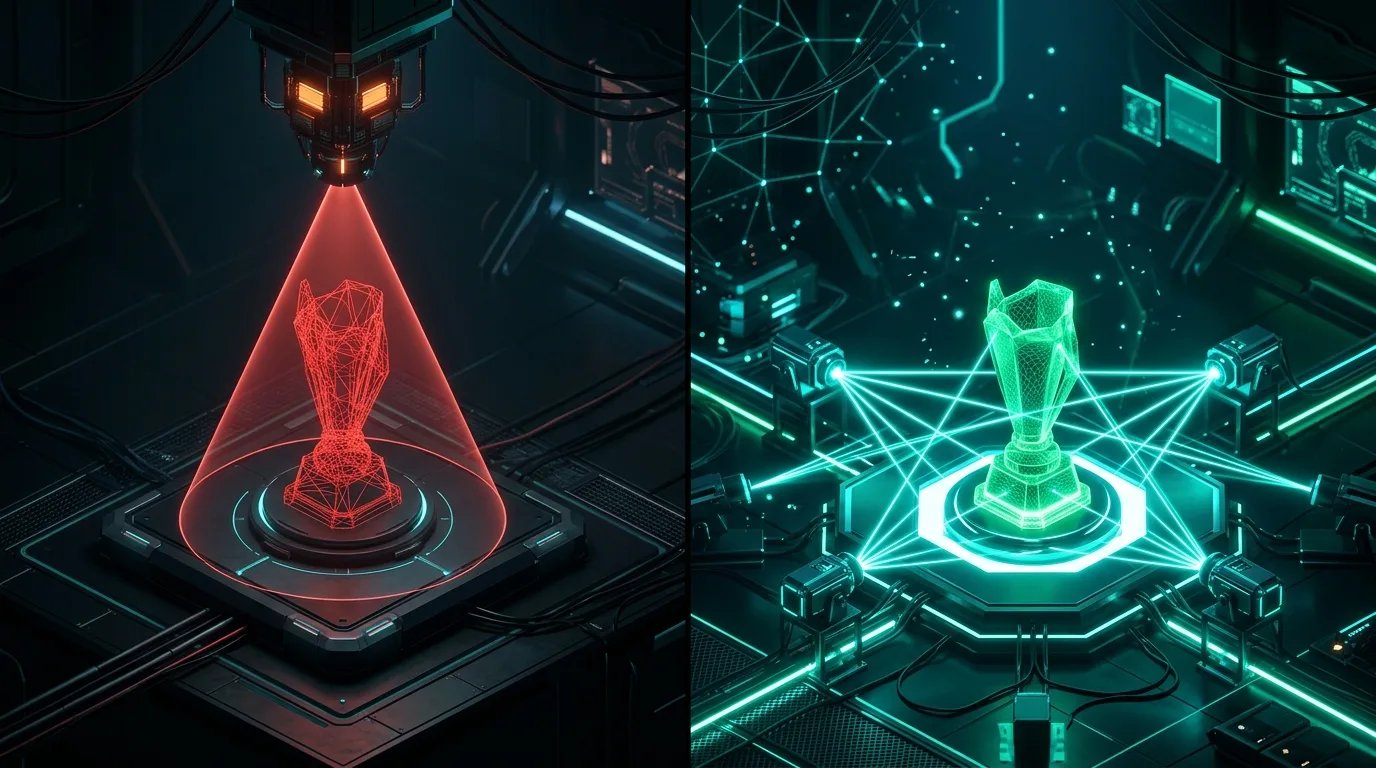
Sometimes. If you will only ever see the front, or the object is close to symmetric, one photo is enough and it is the faster route. If anyone will look at the back, or you plan to print it, a few extra photos are worth ten minutes of your time.
The harder part is knowing which case you are in. This guide gives you a quick way to decide, explains what extra photos actually add (and what they do not), and ends with a short test you can run on an object of your own.
The Short Answer, by What You Are Making
| What you are making | Is one photo enough? | Suggested input | Why |
|---|---|---|---|
| Mug, vase, bottle, ball | Usually | 1 photo (or front & back if printed) | The hidden side is predictable. |
| Wall sign, relief, plaque, flat keychain | Yes | 1 photo | The back is flat by design. |
| Background prop, quick concept preview | Yes | 1 photo | Nobody inspects the rear geometry. |
| Figurine you will 3D print | Rarely | Front and back minimum (4 if complex) | The back becomes a physical surface. |
| Product for 360° web or AR viewer | Rarely | 3 to 4 views | Shoppers inspect labels, ports, and soles. |
| Character for indie game blockout | Not ideal | Front, side, and back turnaround | You need a consistent orthographic silhouette. |
| Asymmetric items: shoes, tools, vehicles | No | 4 views | The hidden side differs from the front. |
| Person or pet with only 1 photo | No choice | 1 photo (with realistic expectations) | Expect a plausible back, not an accurate one. |
What Happens to the Side the Camera Cannot See
With one photo, the model fills in the hidden side from patterns it has learned from many other objects. For a bottle, that works because bottles are round. For a shoe heel, a backpack, the rear of a vehicle, or the back of a person, it is a plausible guess. It is not knowledge.
Plausible is not always wrong. For concept work, rough prototypes, or anything you will only view from the front, a guess may be exactly good enough, and it is much quicker.
The trap is the model that looks right from the front, so you assume it is right all the way around, and then you rotate it. A reasonable-looking guess is harder to spot than an obviously broken one.
What Extra Photos Add, and What They Do Not
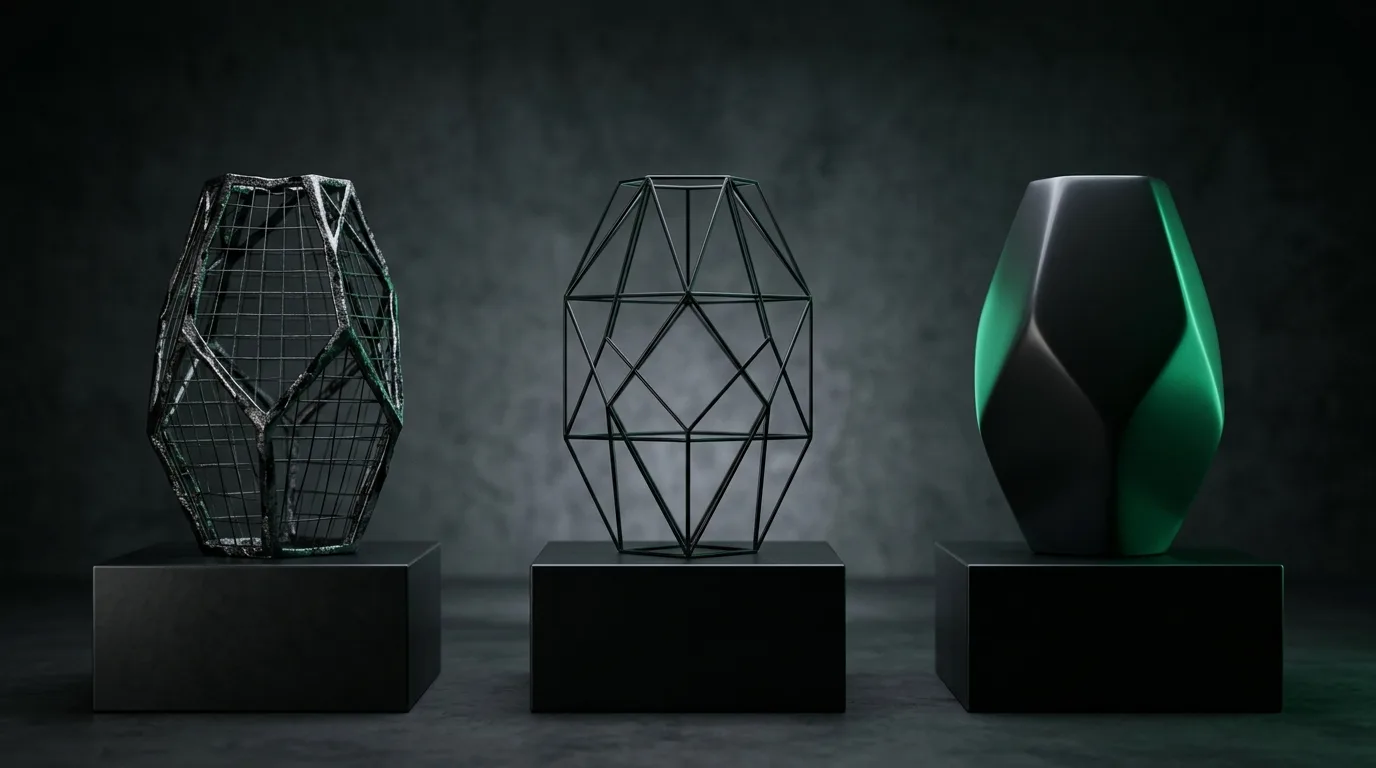
Understanding the exact technical differences prevents unrealistic expectations:
What Extra Photos Add
- Real geometric evidence for hidden sides: Less of the shape and silhouette is invented from dataset averages.
- Accurate placement of asymmetric features: Logos, ports, buckles, and pockets land where they actually belong.
- Consistent texture mapping: Baked PBR textures carry uniform lighting and colors from front to back.
What Extra Photos Do Not Do
- Turn the result into a metrology scan: The output is still generated to fit your photos. Always inspect the mesh against your photos.
- Rescue inconsistent photos: Views that disagree (different zoom, shifting shadows, moving parts) produce worse results than fewer clean views.
- Give you real dimensions: Models export in arbitrary digital units. Set real-world scale in your slicer or game engine.
- Guarantee razor-sharp micro-text: Packaging ingredients and tiny serial numbers will remain approximate.
- Automatically fix printability: Extra views do not thicken thin walls or close non-manifold holes.
Choosing Your Input: One, Two, Three, or Four Views
| Views | What you gain | Good for | Watch out for |
|---|---|---|---|
| 1 (Front) | Fastest, least effort | Symmetric or front-only display items | Back and sides are guessed. |
| 2 (Front + Back) | Removes the biggest unknown | Figurines, packaging with rear labels | Side thickness is still inferred. |
| 3 (Front, Back, Side) | Adds true depth profile | Objects with a prominent silhouette | Opposite side is assumed to match. |
| 4 (Front, Left, Back, Right) | Covers all four sides | Asymmetric items, character turnarounds | Requires careful matching across all 4 shots. |
For most projects, two views (front and back) offer the highest return on effort. The back is the biggest unknown for AI models, so providing a real opposite photo eliminates the most frequent point of failure. If you only have two photos, use our front and back image to 3D converter.
If You Plan to 3D Print the Model
3D printing raises the stakes. On a screen, a vague or blurry back is a minor visual flaw. On a printed figurine, the back is a physical solid surface that someone holds and inspects with their fingers. A melted or flat back cannot be hidden.
More views improve the overall volume and shape, but you must still verify printability before sending the file to your slicer:
3D Print Preparation Checklist
- Watertight and manifold mesh: Check that all edges are manifold. Our guide to non-manifold edges explains how to fix holes.
- Wall thickness: Ensure minimum wall thickness reaches at least 0.8mm for standard 0.4mm FDM nozzles (or ~1.2mm for structural durability).
- Fragile overhangs: Thin fingers, loose straps, and antennae require support structures or orientation adjustments.
- Solid baseplate: Freestanding figurines need a flat anchoring plane. Check our photo to 3D figurine generator which automatically integrates flat bases.
- Physical scale: Scale the STL to exact millimeters inside Bambu Studio, Cura, or PrusaSlicer.
A 15-Minute Test to Decide for Your Own Subject
You do not need to guess whether multiple photos are worth it for your catalog or figurines. Test it yourself in 15 minutes:
Step-by-Step Test Procedure
- Pick one physical object where the back differs from the front.
- Capture four clean views (front, left, back, right) following our photo capture guide.
- Generate three runs: front only, front + back, and all four views.
- Score each run using the decision scorecard below.
| Inspection Criterion | Front Only | Front + Back | All Four Views |
|---|---|---|---|
| Back shape matches your back photo (0 to 2) | Score (0–2) | Score (0–2) | Score (0–2) |
| Side profile matches side photos (0 to 2) | Score (0–2) | Score (0–2) | Score (0–2) |
| Logos, ports, and labels in right place (0 to 2) | Score (0–2) | Score (0–2) | Score (0–2) |
| Height and width proportions match (0 to 2) | Score (0–2) | Score (0–2) | Score (0–2) |
| Slices cleanly without repair errors | Pass / Fail | Pass / Fail | Pass / Fail |
How to interpret your results: If front-only scores within 1 point of the others, single-image generation is sufficient for that class of objects. If front + back captures 85% of the accuracy, make two photos your default standard. If only four views correctly capture side features, use four views whenever the object has prominent handles, wings, or asymmetry.
The Bottom Line & Next Steps
Use one photo for quick concept exploration, bas-relief plaques, or predictable shapes using our AI image to 3D generator. Use two photos (front & back) for 3D printed figurines and packaged goods where the rear matters most using our front and back 3D tool. Use four photos for complex asymmetric products and game character turnaround sheets with our multi-image to 3D converter or character sheet to 3D tool.