
Guide to Printing AI-Generated 3D Models
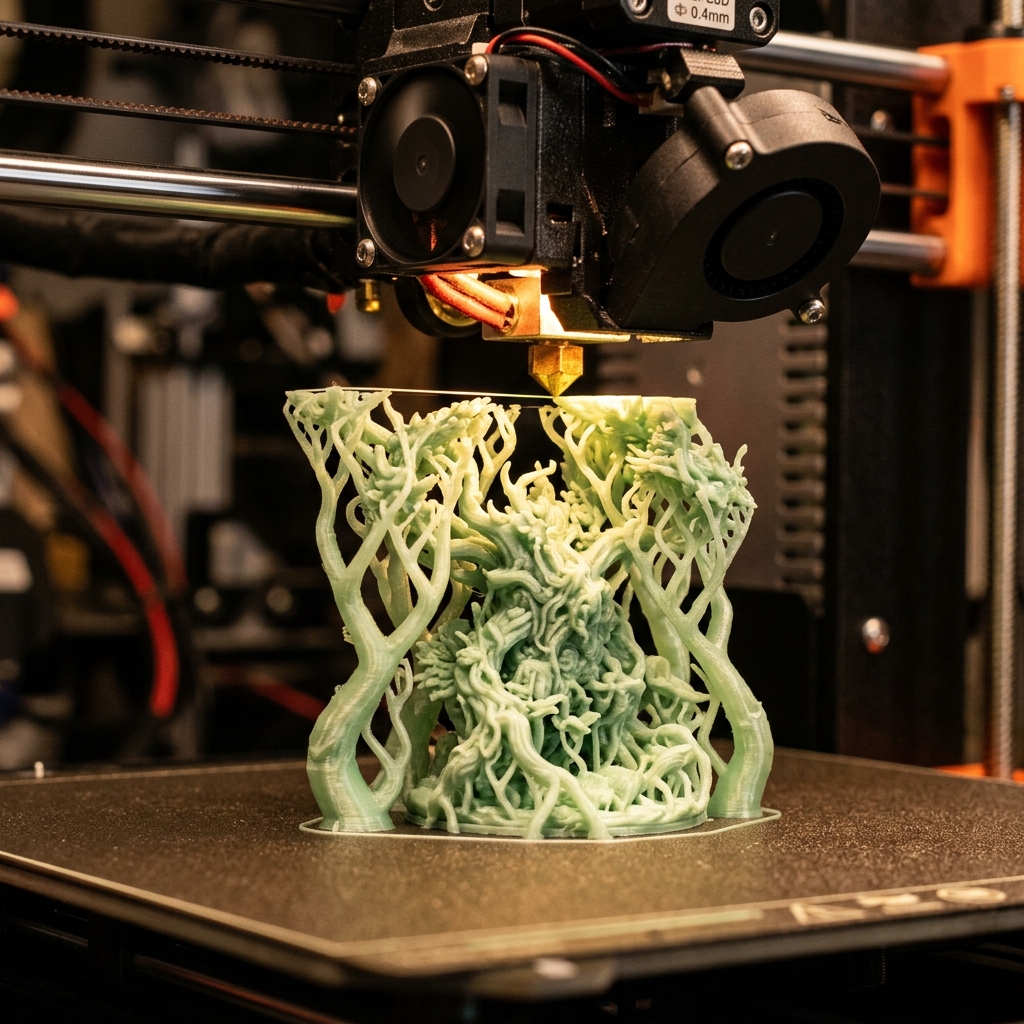
AI image-to-3D converters are opening up a brand-new path for makers, allowing us to turn hand-drawn sketches into 3D printable toys or transform 2D character drawings into physical figurines without complex CAD software. However, AI meshes have a reputation for being difficult to print because they are built as visual meshes rather than mechanical solids. Slicers require watertight solids. Knowing how to validate your file before printing saves material and avoids nozzle jams.
The Slicer’s Golden Rule: Manifold Geometry
A 3D slicer (like Bambu Studio, PrusaSlicer, or Cura) does not look at colors or visual textures. It only looks at shell geometry. To slice a file into solid plastic layers, the model must be manifold. A manifold model is a completely closed volume with an inside and an outside—like an airtight balloon. If the mesh contains open boundaries (holes) or non-manifold edges (edges shared by more than two faces), the slicer will fail to calculate infill paths correctly, often printing hollow shells or random spaghetti.
How to Read the Voxelvia3D Print-Ready Scorecard
To bridge this gap, Voxelvia3D runs automated checks on generated meshes. In your dashboard workspace, you will find a validation scorecard with three key metrics:
Key Scorecard Metrics
- Watertight Seal Check: Verifies that the mesh is completely closed. A 'PASSED' state means the model has zero boundary holes.
- Manifold Solid Scan: Ensures all vertex connections are mathematically clean. It flags and repairs loose floating geometries.
- Nozzle Clearance Check: Measures thin regions and highlights boundary walls that fall below standard printer nozzle widths (typically 0.4mm).
Optimal Slicer Settings for AI Models
Organic shapes generated by AI differ from sharp, boxy CAD models. Use these settings in your slicer for a clean, stable print:
Slicer Configurations
- Wall Generator: Switch to Arachne (available in OrcaSlicer, Bambu Studio, PrusaSlicer, and Cura). Arachne dynamically varies line width, ensuring razor-thin organic tips and facial contours slice solidly without empty gaps.
- Seam Alignment: Enable Scarf Joint seams (OrcaSlicer / Bambu Studio). Scarf joints overlap the start and end of perimeter loops with a ramped angle, virtually eliminating the unsightly z-seam zipper on curved figurines.
- Perimeters (Wall Loops): Set this to 3 or 4. Increased wall loops provide solid structural strength, especially for detailed figurines.
- Support Type: Use Tree/Organic supports instead of Grid supports. Tree supports wrap around organic overhangs gently, print faster, and detach cleanly with minimal scarring.
- Layer Height: Use Adaptive / Variable layer height (e.g. 0.08mm to 0.16mm). This smooths out delicate dome surfaces while speeding up vertical perimeters.
- Infill: 10% to 15% Gyroid infill provides high multidirectional strength while preventing slicing density imbalances.
For project-specific slicer profiles with pre-tuned layer heights and support tolerances, explore our production guides for photo to 3D figurine printing, turning sketches into durable toys, and Bambu AMS multi-color logo printing.